
Introduction
Liquidware created an option to layer applications without the ProfileUnity agent installed. After the packaging process, a PowerShell script is run to create an executable that will mount the virtual hard disk and start the application. The whole process to create a package and the executable is covered in this article.
Preparation
If you do not already have done so, download the FlexApp One packaging software. Extract the ZIP file. The content will look like this:

Install the fpcsetup_<version>.exe from the FlexApp Packaging Console folder on a dedicated packaging machine. The installation is straightforward with Next - Next - Next - Finish.
Creating the package
In this example, NotepadPlusPlus_8.2_ENG_1.0.0 is created as a FlexApp One application.
|
Before I started, I created a packaging structure locally. That will avoid all kinds of issues with filenames too long. |
|
Start the FlexApp Packaging Console. In the first line enter .\packages.xml. That is how we create a package offline. All the other lines remain empty. Click on the arrow to continue. |
|
Click [Create] to create the package. |
|
Fill in all the details. The Installer Location remains empty as the installation is triggered by me. Click [Create]. |
|
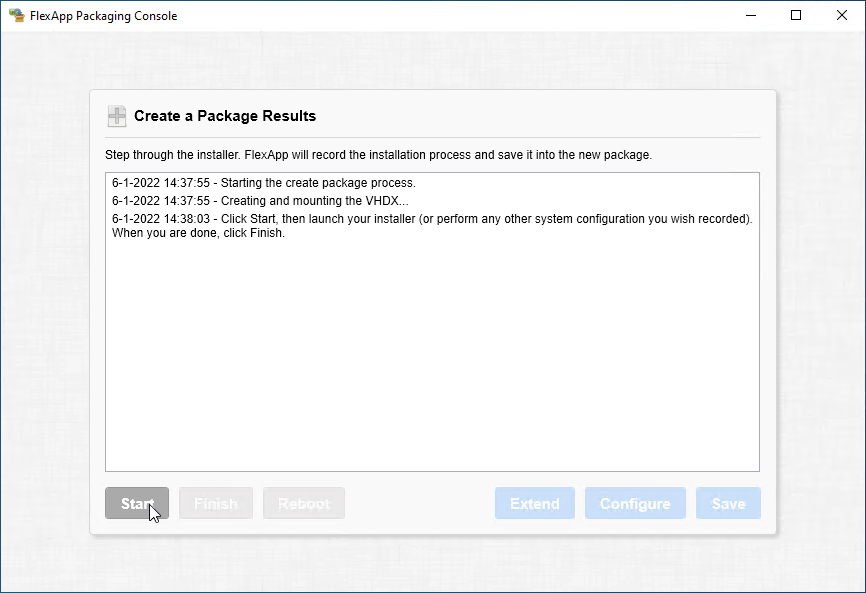
Click the [Start] button to start the packaging process. After that start the install.cmd from the source folder to do the actual installation. |
|
Click [Save] when done. |
|
Close the FlexApp Packaging Console. |


Create the FlexApp One Executable
|
The next step is to create the FlexApp One executable. This is done with a PowerShell script. Copy the Bundler folder to C:\_Packaging. |
|
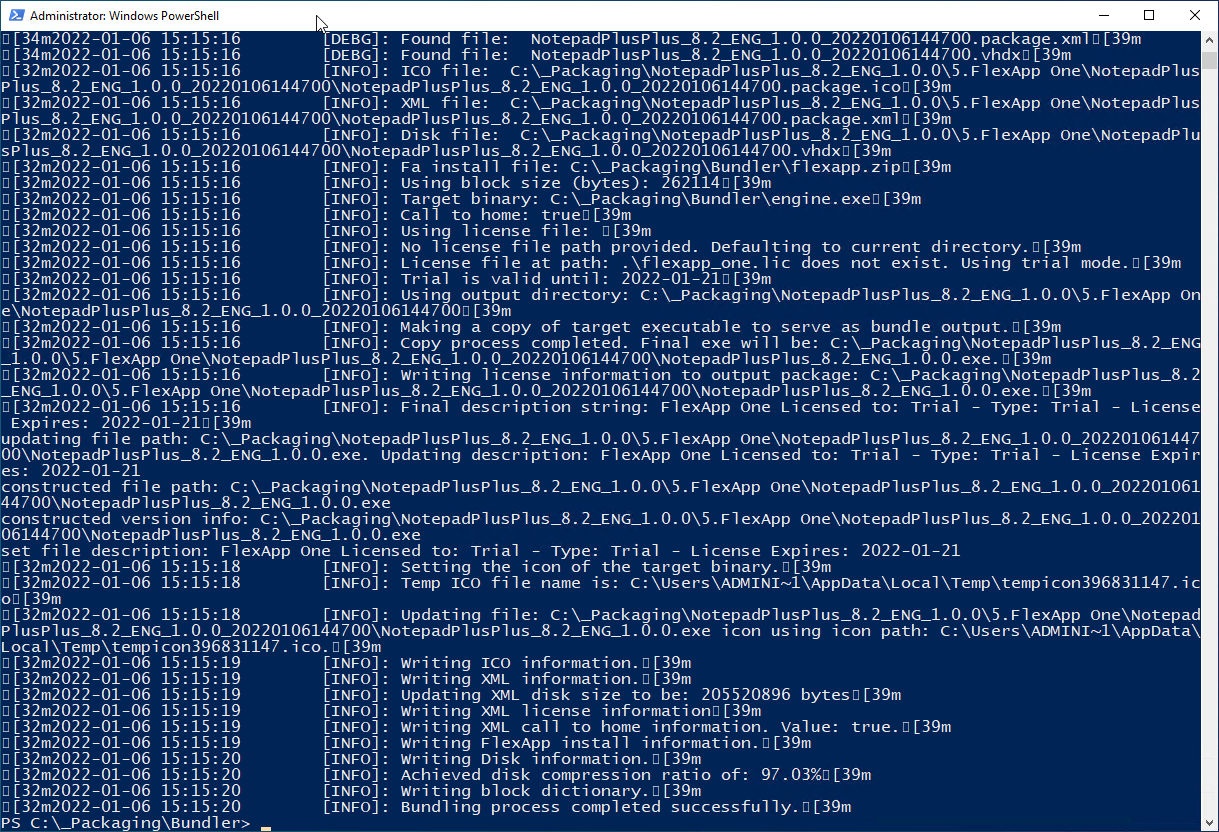
Create the executable with a PowerShell script. |
|
Accept the License Agreement. |
|
The end result. |
|
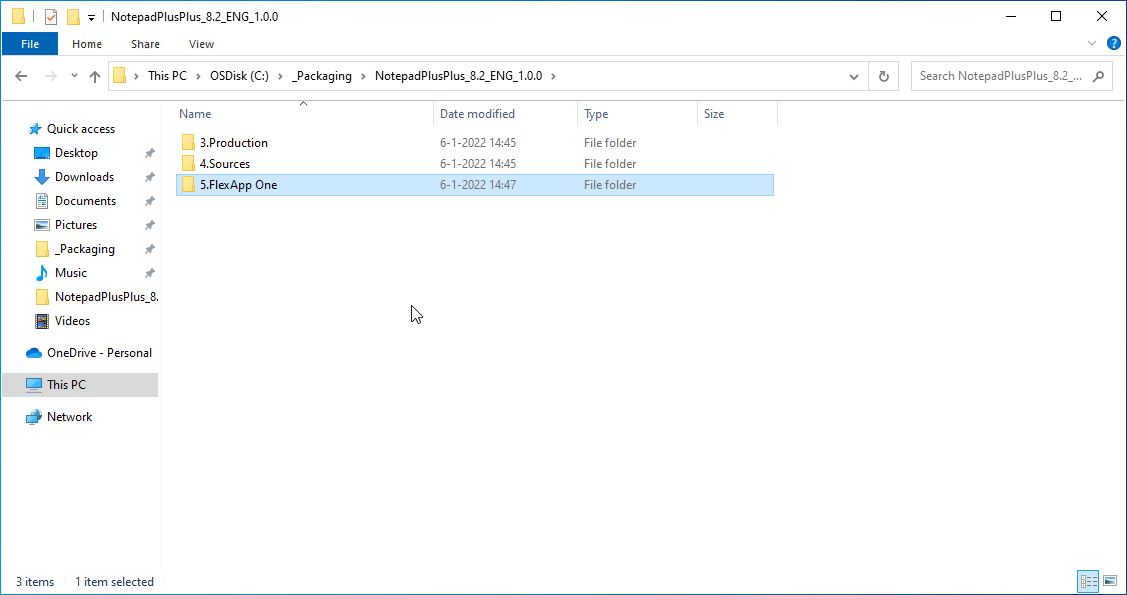
All the files in the 5.FlexApp One folder. |


Testing on the client
This test is done with a user with regular user rights on a workgroup computer.
|
I copied all the FlexApp One files to the local folder C:\NotepadPlusPlus_8.2_ENG_1.0.0_20220106144700. Install NotepadPlusPlus_8.2_ENG_1.0.0.exe with the parameter --install. After that, the same executable with the parameter --addtostart. Click [Yes] to continue. |
|
Add the administrator credentials and click [Yes]. |
|
Click [Ok] |
|
Notepad++ is started automatically. |
|
And Notepad++ is visible in the Start Menu. Reboot the computer. |
|
After reboot, Notepad++ is visible in the Start Menu. |
|
And Notepad++ works and automatic updates have been disabled. |


If you have any questions please leave a comment.
Other articles in this series:
- [Article 1] - ProfileUnity from LiquidWare: installation and configuration
- [Article 2] - ProfileUnity from Liquidware: deployment predefined application Firefox
- [Article 3] - ProfileUnity from Liquidware: create a FlexApp Application
- [Article 4] - ProfileUnity from Liquidware: FlexApp Package Automation
- [Article 5] - ProfileUnity from Liquidware: create a FlexApp One Package
- [Article 6] - ProfileUnity from Liquidware: integration with Ivanti Workspace Control
- [Article 7] - ProfileUnity from Liquidware: Install Liquidware FlexApp ONE applications via Microsoft Endpoint Configuration Manager