
Introduction
In this blog article, all the steps to create a package are described. I have chosen the Brave browser. Brave browser is based on the chromium technique. So, I good candidate for a demonstration.
If you have any questions please, do not hesitate to leave a comment.
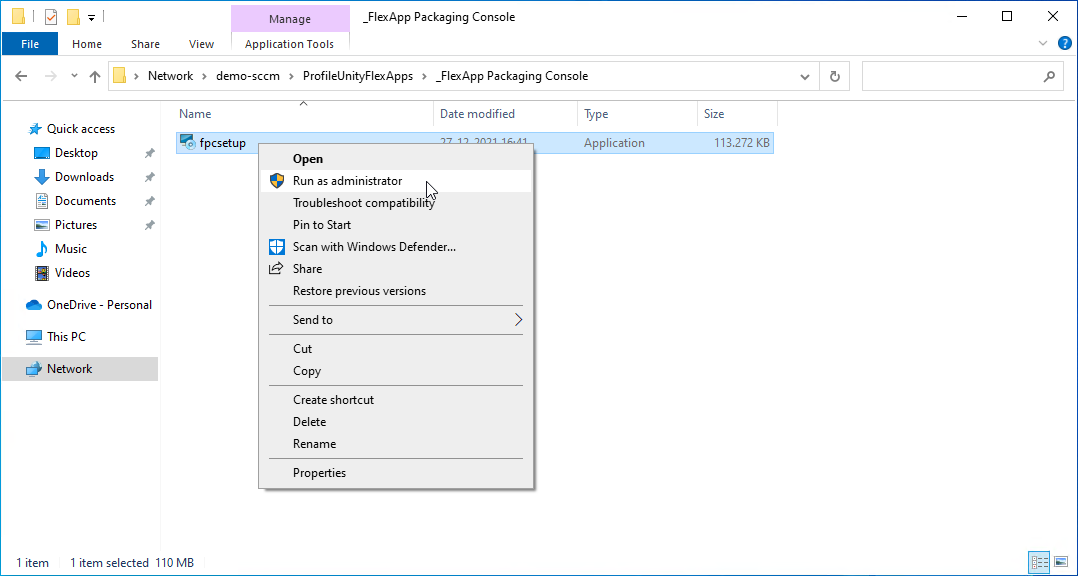
The packaging process is done on a separate PC. I always use a non-domain joined PC so you do not have to worry about policies and other pollution. On the packaging PC, the FlexApp Packaging Console is installed. You can find the FlexApp Packaging Console installation file in the ProfileUnity console.

Save the file to a share so you can access the file on your packaging PC. After installation, you can start packaging the application. After packaging and cleanup, you can assign the package to a configuration.
Packaging
The following steps are performed on the packaging PC:
|
Install the FlexApp Packaging Console. The installation is straightforward: next - next - next - finish. |
|
Start the FlexApp Packaging Console to start the packaging process. |
|
Login to the FlexApp Packaging Console. |
|
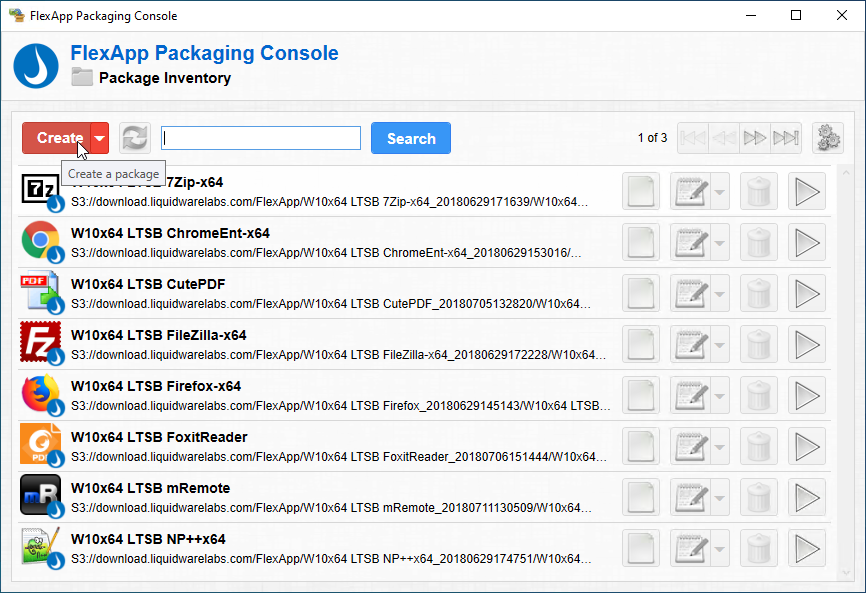
All the available applications are visible. Click [Create] to create a new package. |
|
Enter all the details. Click [Create] when done. |
|
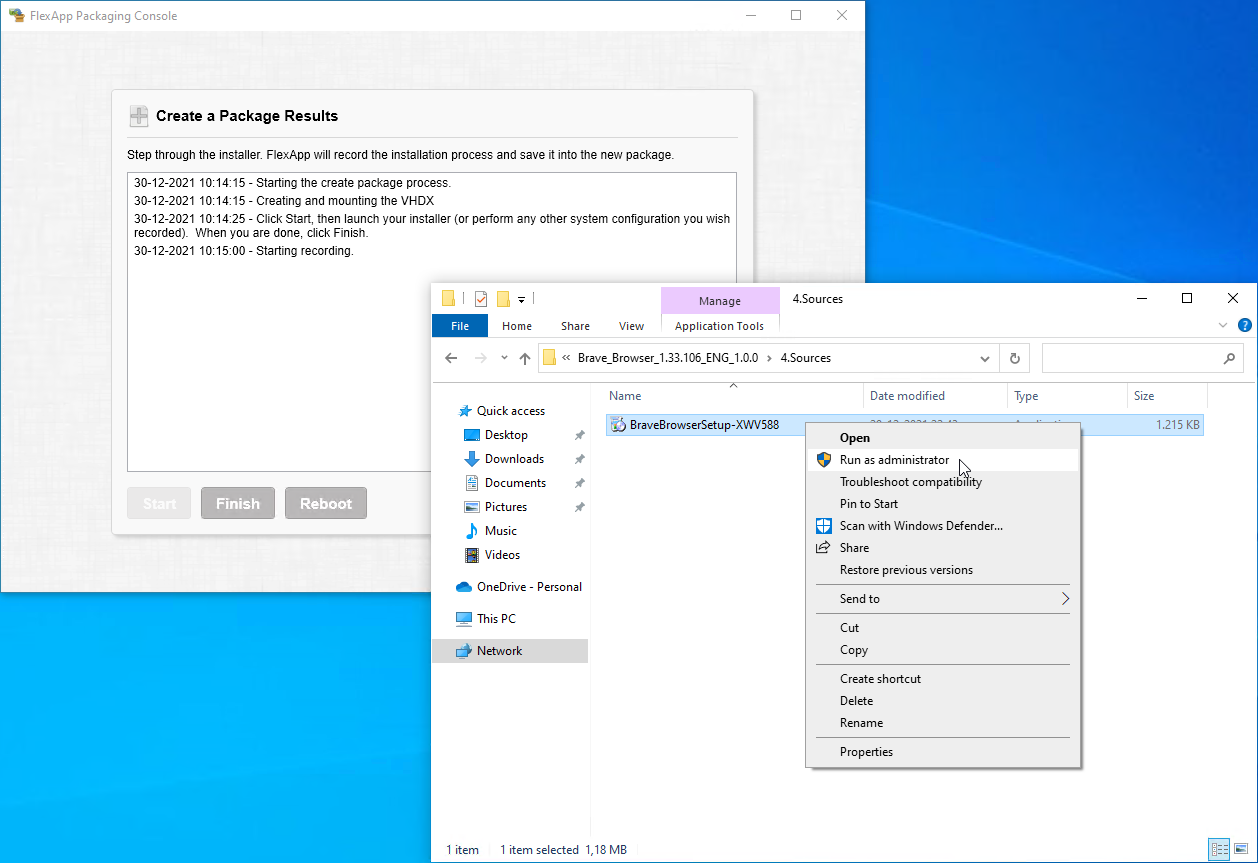
Click Start the begin the packaging process. If you forget this step, you cannot save the package. |
|
Install Brave. After installation Brave is started automatically. |
|
Disable the update services. |
|
Delete all the personal stuff. |
|
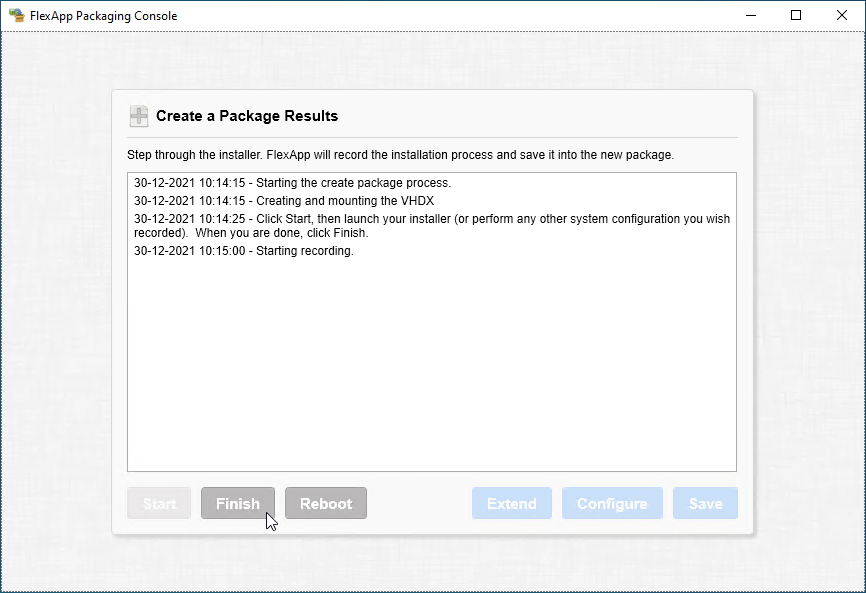
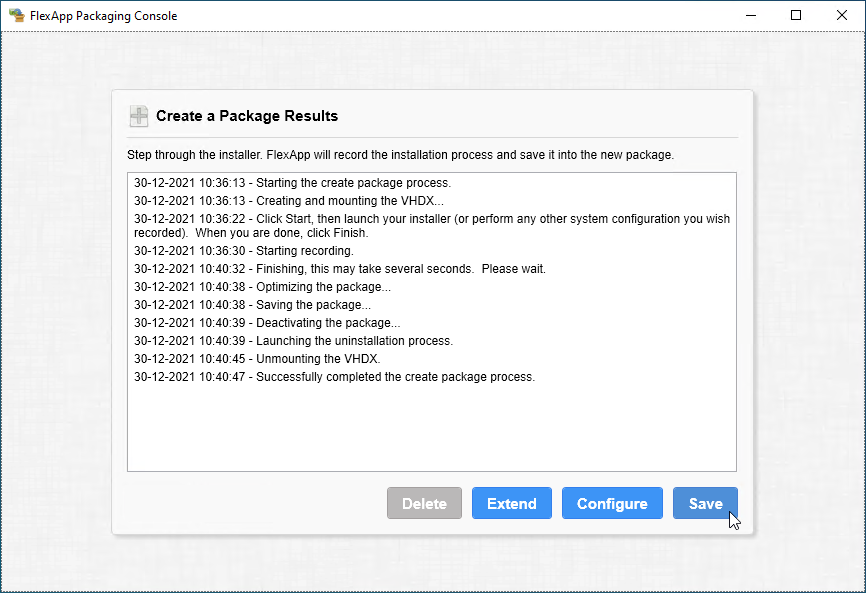
Click [Finish]. |
|
Click [Save]. |


Cleaning up the package
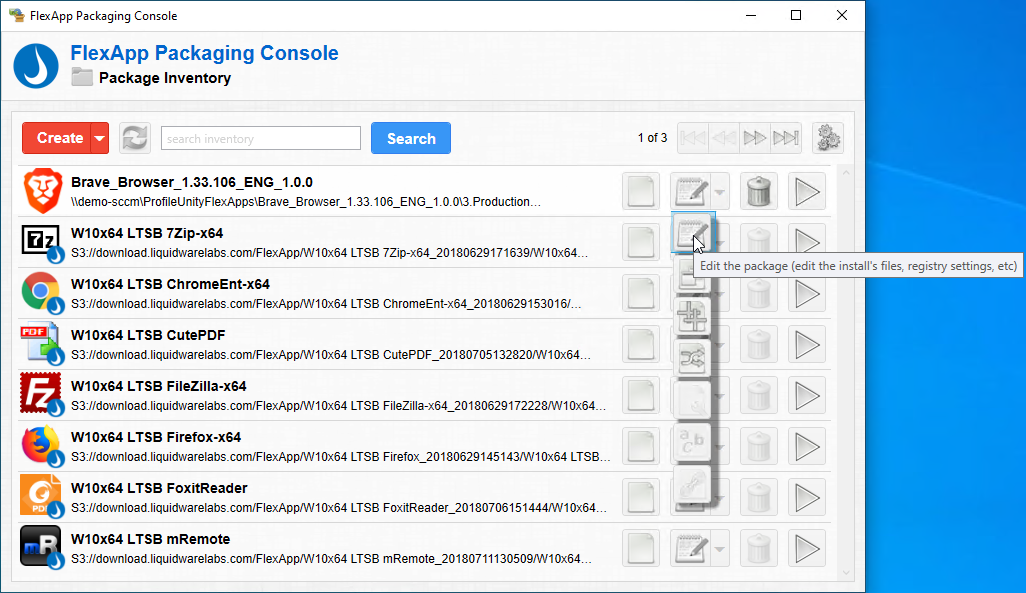
I think it is mandatory to clean up a package. There is always overhead that can be removed. That is done in this step.
|
Select [Edit] from the pull-down menu. |
|
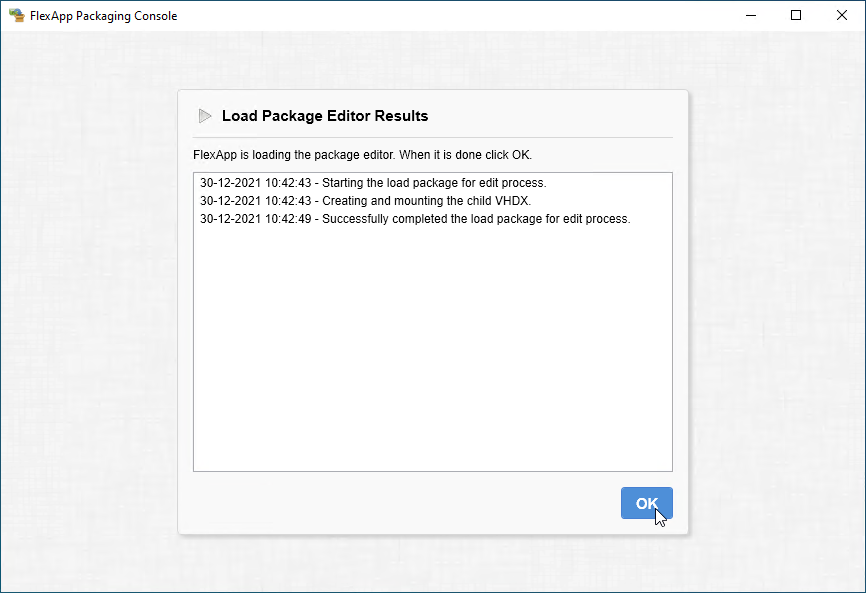
Click [Ok] |
|
Perform the cleanup tasks. |
|
Confirm if you want to delete an item. Click [Yes] |
|
Click Save when ready. |
|
Click [Ok]. |


Deployment
Now, deployment of the new package. The steps are the same as mentioned in my post ProfileUnity from Liquidware: deployment predefined application Firefox.
|
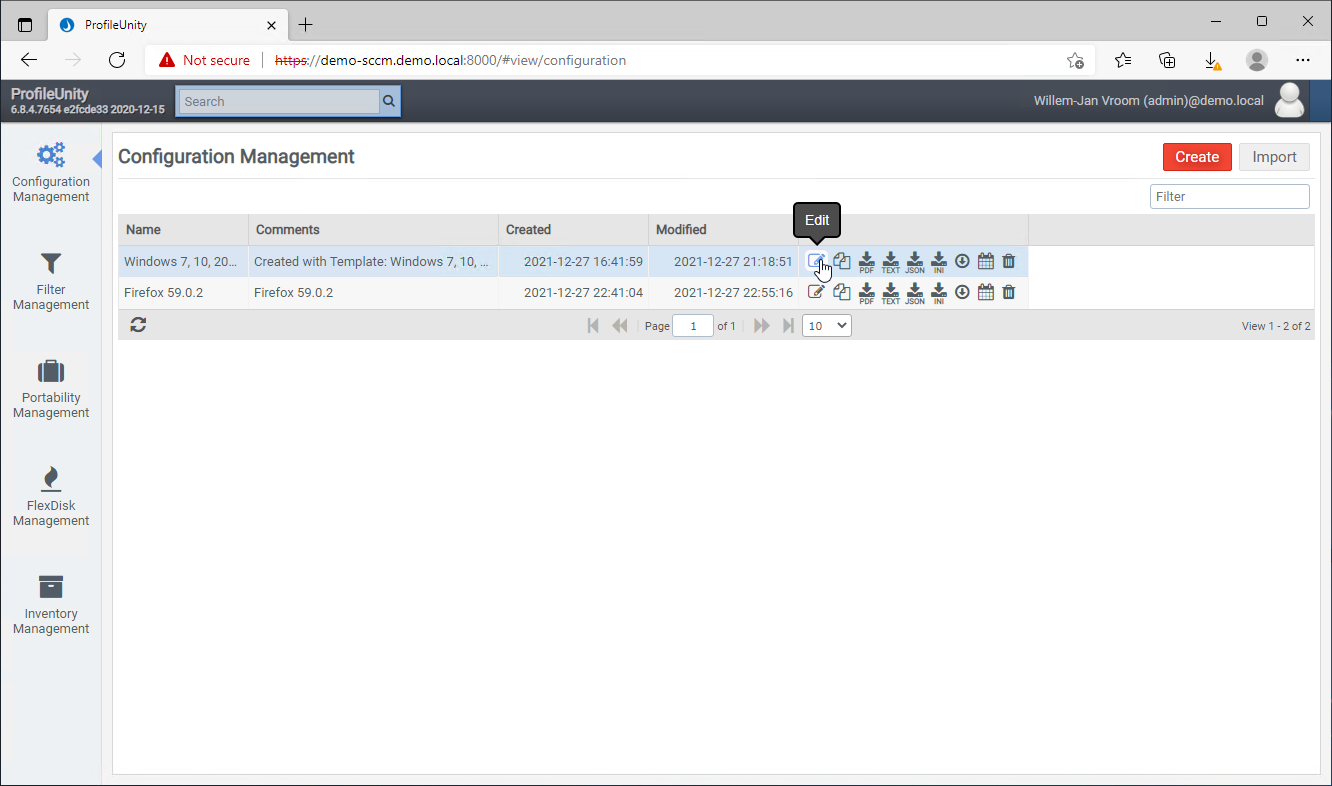
Go back to the ProfileUnity Console. |
|
Select the correct configuration line and click [Edit]. |
|
Click on the icon [FlexApp DIA.] |
|
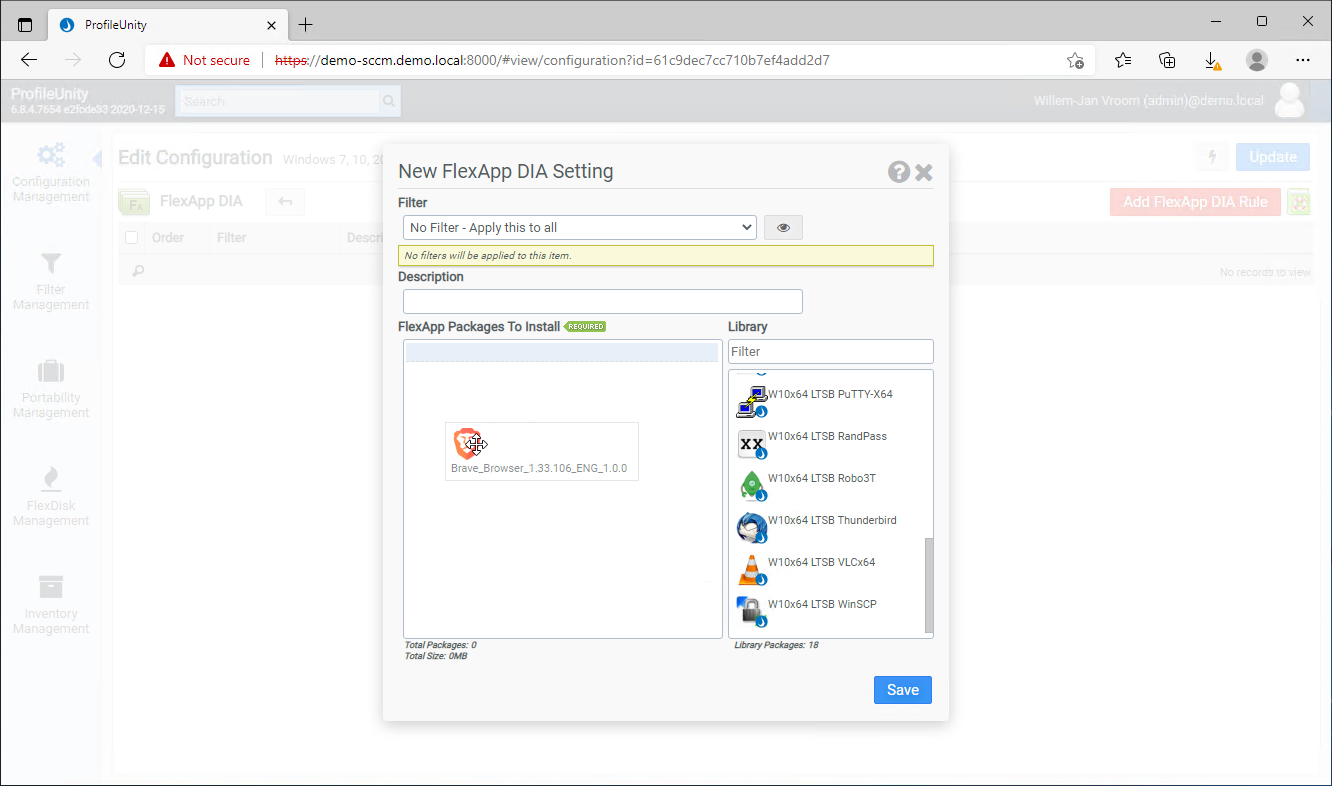
Click [Add FlexApp DIA Rule]. |
|
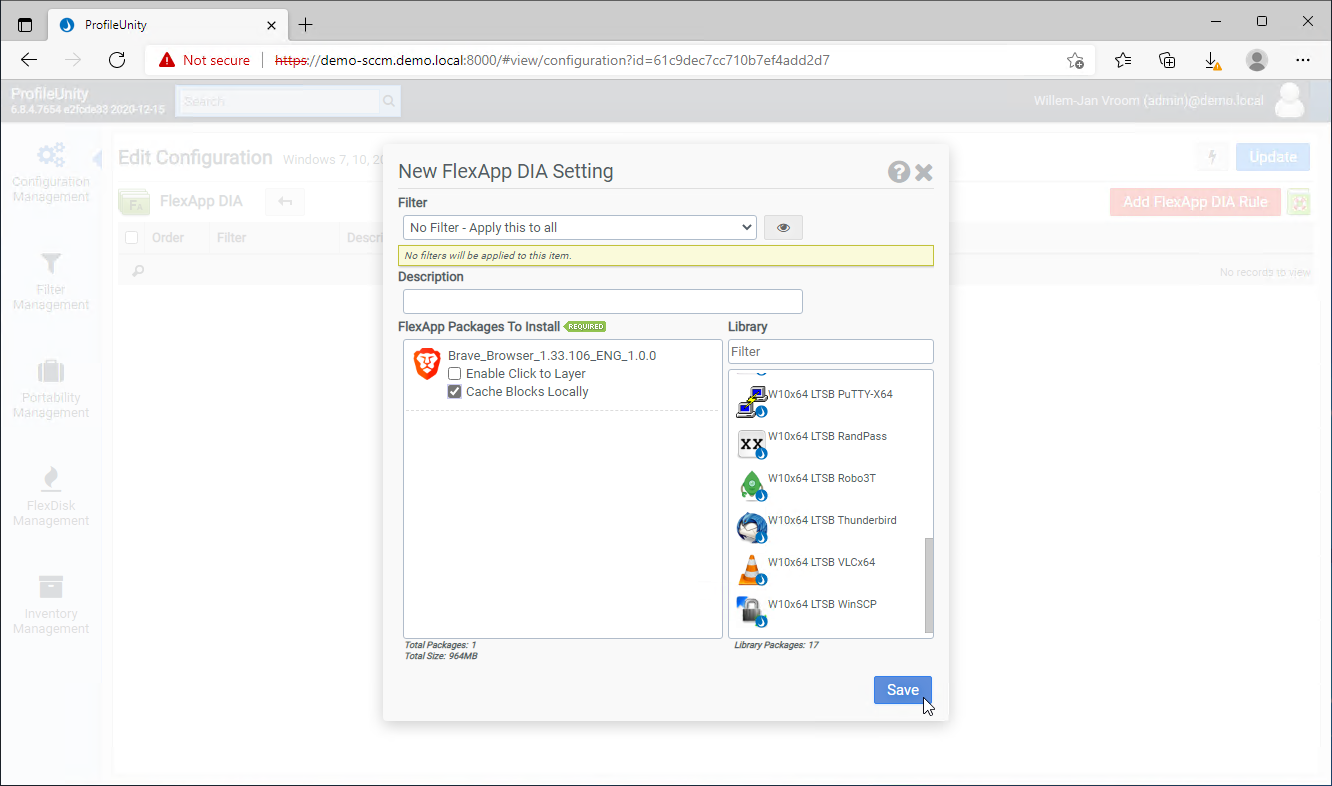
Drag-and-drop the correct application to 'FlexApp Packages To Install'. |
|
Click [Save]. |
|
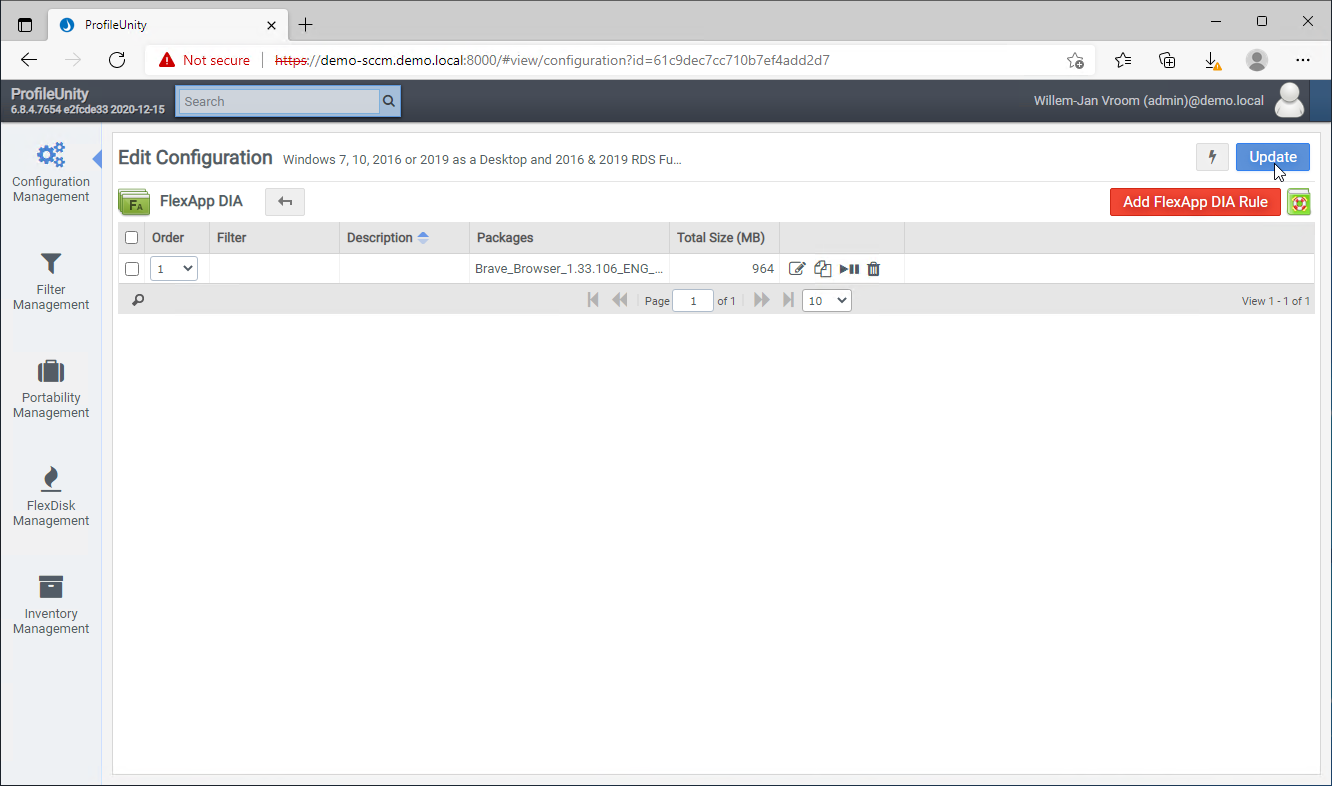
Click [Update]. |
|
Click on the icon [Deploy Configuration] |
|
A success box. |


Testing on the client
And finally, testing on a client. That most important step: will the application work?
|
The Brave browser is visible in the Start Menu. |
|
Brave starts without issues. |
|
Missing Adobe Acrobat plugin is causing issues here. But the missing plugin has been added automatically. |


If you have any questions, please, feel free to enter a question below.
Other articles in this series:
- [Article 1] - ProfileUnity from LiquidWare: installation and configuration
- [Article 2] - ProfileUnity from Liquidware: deployment predefined application Firefox
- [Article 3] - ProfileUnity from Liquidware: create a FlexApp Application
- [Article 4] - ProfileUnity from Liquidware: FlexApp Package Automation
- [Article 5] - ProfileUnity from Liquidware: create a FlexApp One Package
- [Article 6] - ProfileUnity from Liquidware: integration with Ivanti Workspace Control
- [Article 7] - ProfileUnity from Liquidware: Install Liquidware FlexApp ONE applications via Microsoft Endpoint Configuration Manager